Have you ever had a project you started and didn’t finish until years later? Raising hand. I bought a couples geneology kit from RedEnvelope.com 6-7 years ago. It’s been so long they no longer even sell it. I had intentions of diving right into it when I first got it, but one thing held me back – I hate my handwriting. The kit required you to hand-write all of your relatives names individually on the leaves provided. Every few years I see that kit in my basement and pull it out to work on it. Then I don’t because I realize it will always bug me to see my handwriting on there. I’ve considered bribing my mom or my sister-in-law who both have lovely handwriting into doing it, but I never get farther than that.
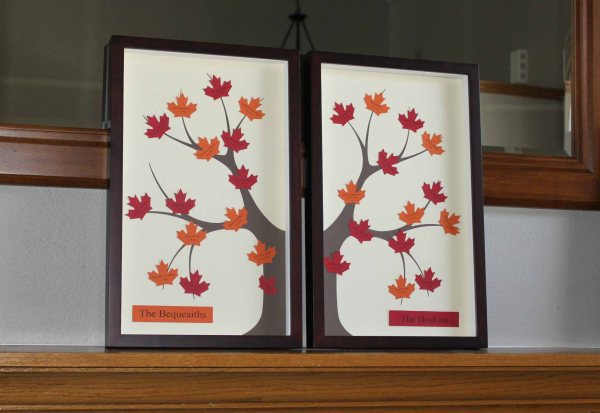
This weekend I finally decided to tackle the project again and resolved to creating my own leaves I could print out on my computer rather than handwriting them. I used parts of the kit, but since they no longer sell it anymore and I think it’s lovely, I decided to provide instructions and printables for making your own.
Supplies:
- 2 Frames for 14×18 photos (or pick a different size and scale the printables accordingly).
- Posterboard to fit into your frames.
- Colored cardstock/posterboard (brown for the trunk, and 2 different colors for the leaves). 2-3 sheets each. Since the tree is pretty large, you may want to use brown posterboard for that part so you don’t have to piece it together with cardstock.
- Double sided tape.
- Pen for handwriting or printer if you’re going to print out your leaves and name cards.
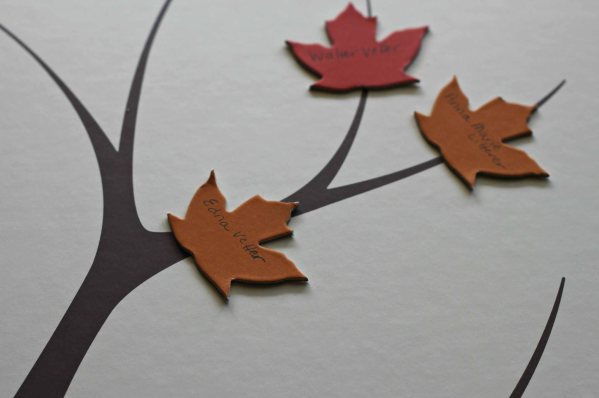
When I first got this out earlier this week, I really did attempt to hand write the leaves. See, here’s proof. Hated it!
I considered printing clear labels to put over the leaves because I really liked the depth of the leaves from the kit. In the end I decided to use my newly purchased Silhouette Cameo to make brand new leaves using their print and cut feature. I’ll provide instructions and files for doing it both with or without the Silhouette. My 2 cents: if you have nice handwriting, I’d really consider writing out the names and birth dates. It’s so much more personal. Isn’t it funny how you immediately know some people’s handwriting? I may have a bit of penmanship envy.
Silhouette Cameo Template: You can use this file for the leaves and family name cards. I created the leaves from an outline I found online of a maple leaf. You’ll use the print and cut feature with 12 pt type on the names and 10 pt type on the birth dates for the larger leaves. You may need to readjust the number and size of leaves depending on your family. Use the pdf below for the tree, I haven’t created a Studio version of that yet.
Printable Templates: I’ve put all of the shapes into this family tree printable pdf. The tree is on two separate pages so you can print them out on standard 8.5×11″ paper for your template.
Instructions:
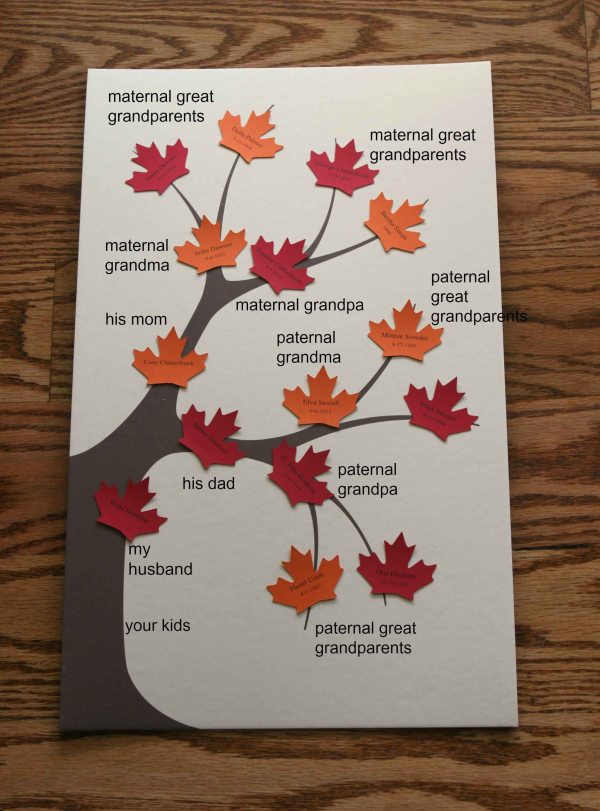
- This tree is meant to go back 3 generations from you, plus your kids if you have any. It does not include any of your siblings or their families. If you’d like to include them you’ll want to modify the size of your tree and the number of branches.
- You’ll need the names and birth dates of the following people: You and your spouse, your children, your parents, grandparents and great-grandparents. I was too impatient to wait to call our parents for some of the details I needed, so I signed up for a free trial on Ancestry.com. It was simple and very interesting. I got all but two birth dates I needed.
- Cut out your trees on brown cardstock. You’ll need to do one the way the template is oriented in the pdf. You’ll need to do another in the reverse, so you will have two mirrored sides of a tree.
- Leaves: Use one color of cardstock for females and a different color for males. The family name placards should be one of each color. For mine, I used orange leaves for females and so the placard on my family’s side of the tree is orange. Males were red, so my husband’s family name is in red.
- Lay out your leaves as indicated in the diagram below. Use the same pattern on each side of the tree. I did flip-flop a few people in order to vary the colors – like on my side my mom’s family was on the bottom branches and my dad’s on the top. On my husband’s side I did his dad’s family on the bottom and his mom’s family on top. In the diagram, you won’t see our son because I put him on my side, but I didn’t get a close up picture of my side.
6. Once you’re happy with your layout, use double sided tape to affix your leaves.
7. Use double sided tape to affix your family name placards on each side of the tree.
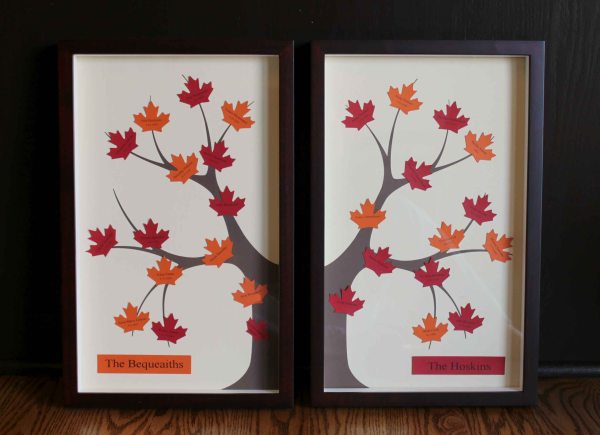
8. Frame. Admire your work!
I love how this turned out and I’m happy I’ve finally finished it. I also learned a little bit about both of our families in the process. My husband’s grandmother recently passed away, so it was a little therapeutic to look at her history past the information she’d shared with us previously.
I have a few leaves left to fill in where I was missing full birth dates, and we need add in my husband’s step mom. I made sure to buy an extra piece of cardstock in each color in case we have any more kids. 🙂
Note: for privacy reasons I’ve blocked out birth dates for anyone who is still living.
I’ve run across a few other family trees lately that I liked.
 |
 |
 |
| Giving Tree: Martha Stewart |
Word Art Tree: Garden Berger |
Slice of Life Tree: My Tree and Me |
Has anyone in your family traced your genealogy? I know my grandma on my mom’s side did a pretty extensive book several years ago and my mom said my aunt is working on continuing it.
Tagged: crafts, decorating, diy, family, family tree, genealogy, silhouette, wedding, wedding gift



Reblogged this on ~ Morning Tempest Studios ~ and commented:
I love this idea and I can’t wait to do it for my own family this summer with my daughter.
Cute Project!
Oh I love family trees so much! This reminds me that there’s a cross-stitch version I always meant to get. So cute- thanks for sharing with us all.
This is a very interesting layout for a “Family Tree”.. I would have never have thought of it this way. Nice job! Congrats on finishing it too (yup, raising my hand when you asked if we have ever taken forever to do a project)
Thank you for sharing with the rest of us! Always great to see creative minds at work. 🙂
Visiting from Whatever Goes Wed @ Someday Crafts linky party
Smiles,
Suz @MaytagNMom
NW Illinois
Link To My Party Project This Week
Thanks for stopping by Suz! I’m notorious for being really excited to start something, but not always getting it finished as quickly.
I love this idea! Thanks for posting 😀 Pinning now to my Things to Make and Do board!
Hannah ♫
Sew Lah Tea Dough
So glad you liked it. Thanks for stopping by Hannah!
So cute! I love this!
Thanks Jen!
That’s beautiful! So creative, great job!